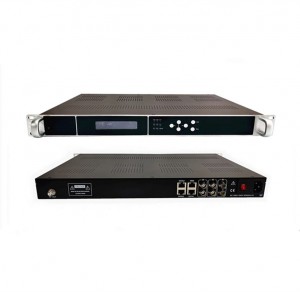
OT-IRD1601I Tuner to IP Headend equipment
Short Description:
1. Overview
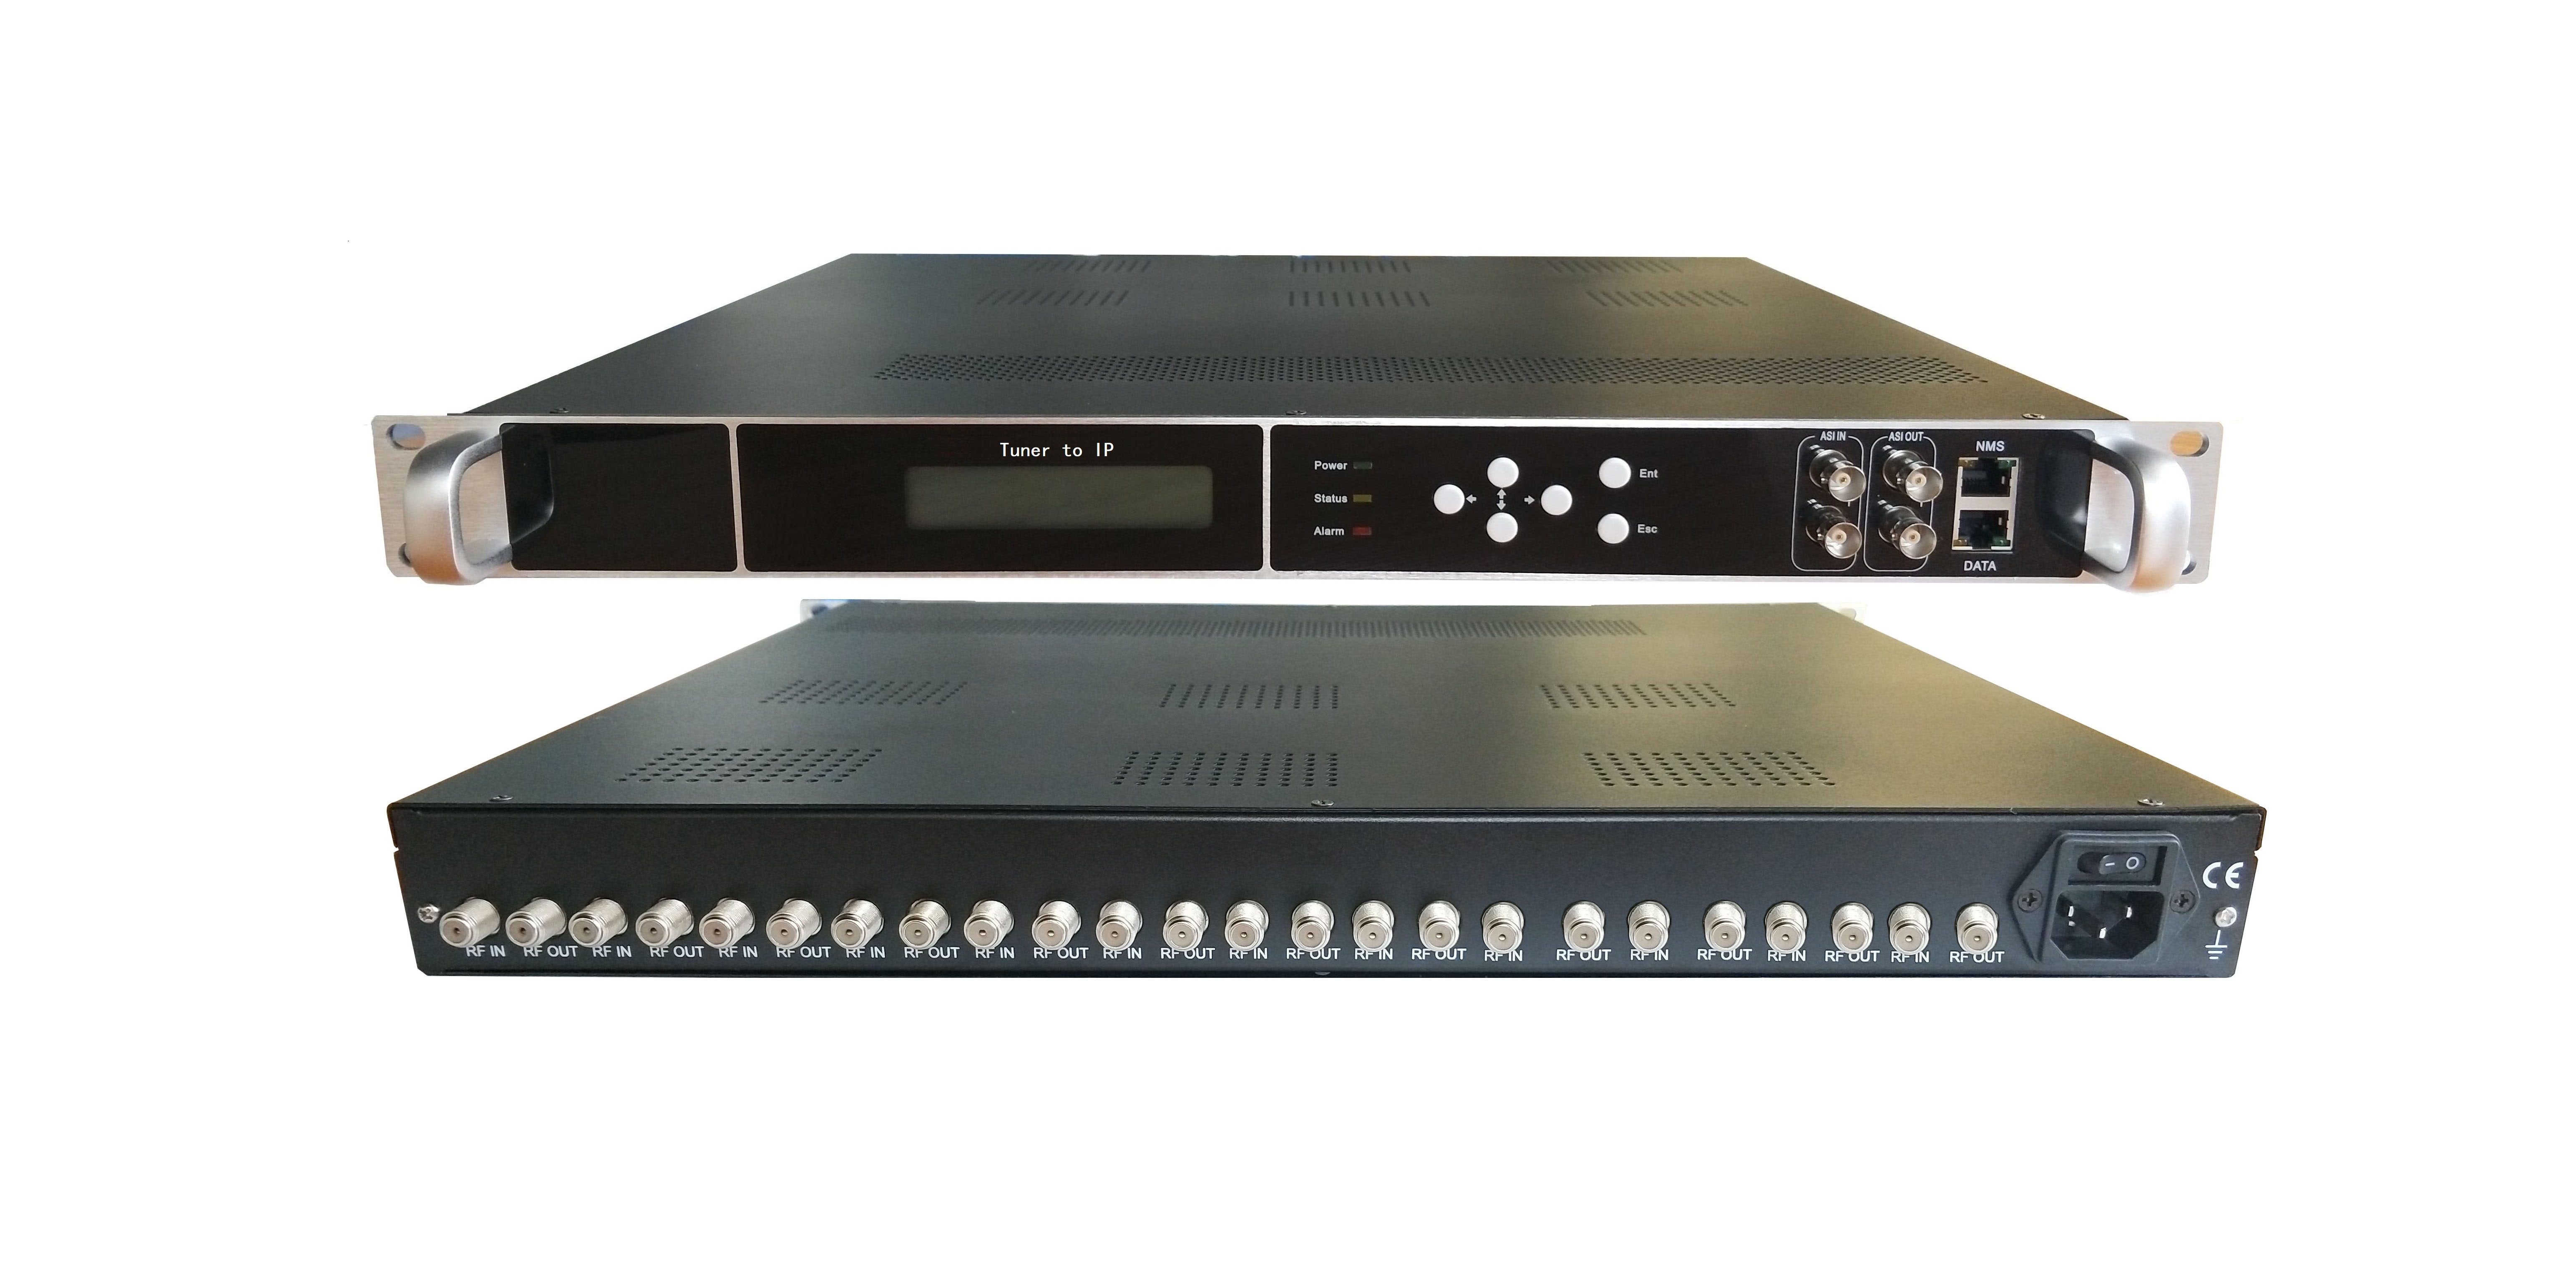
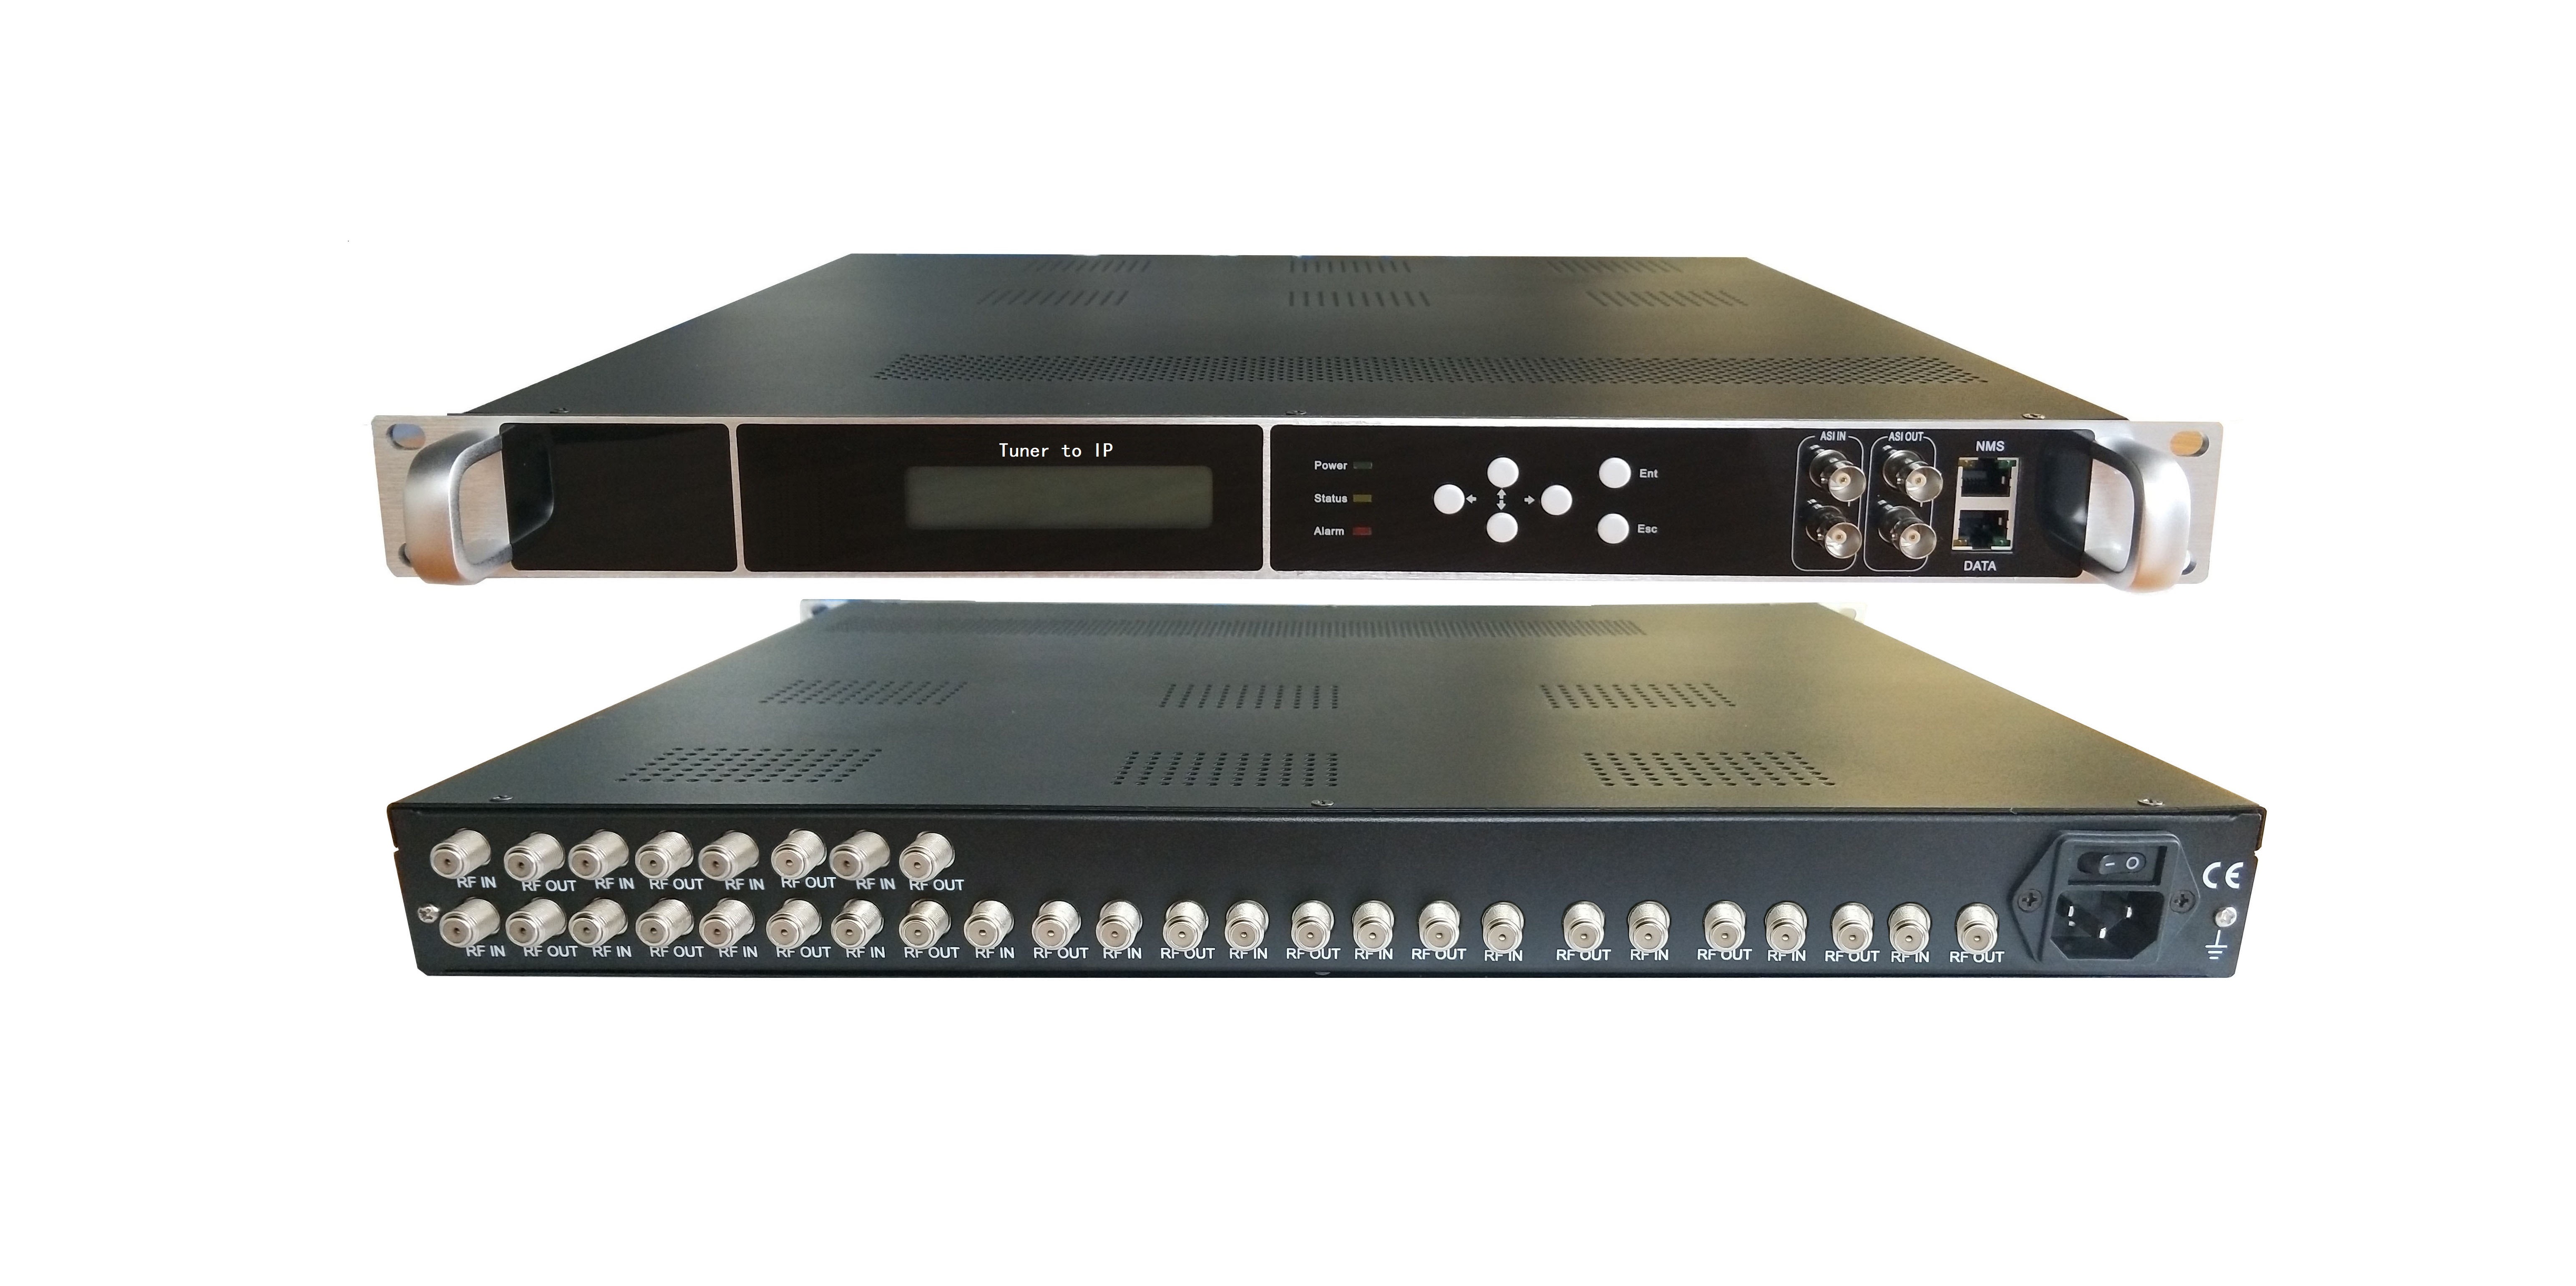
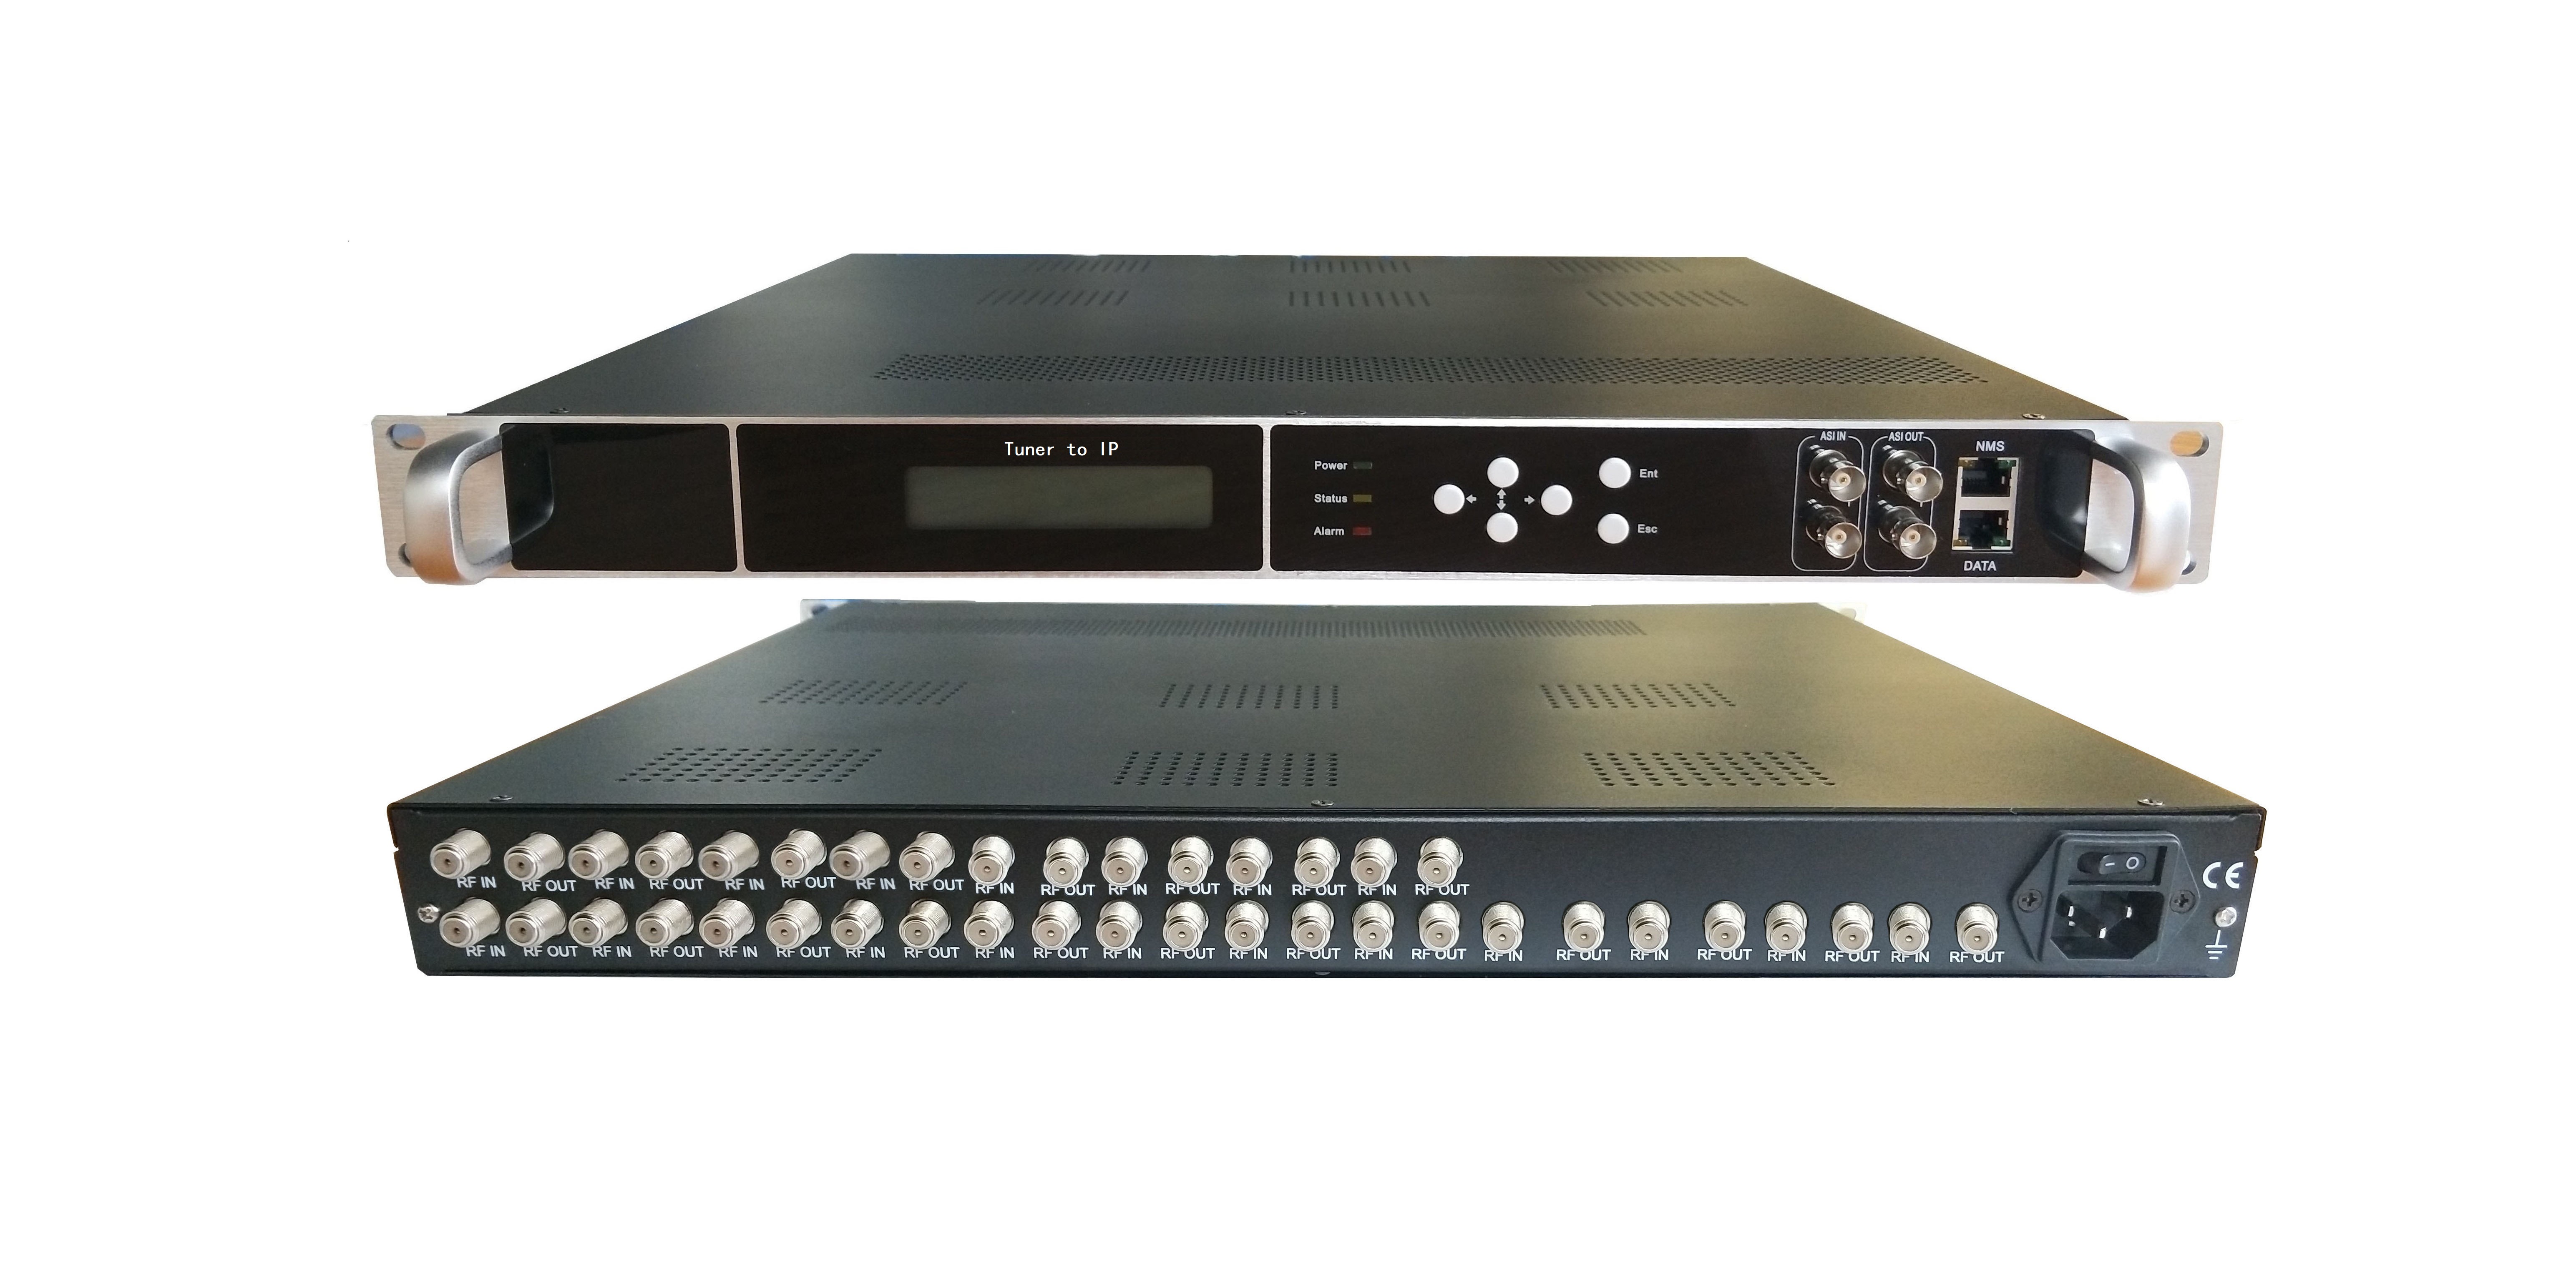
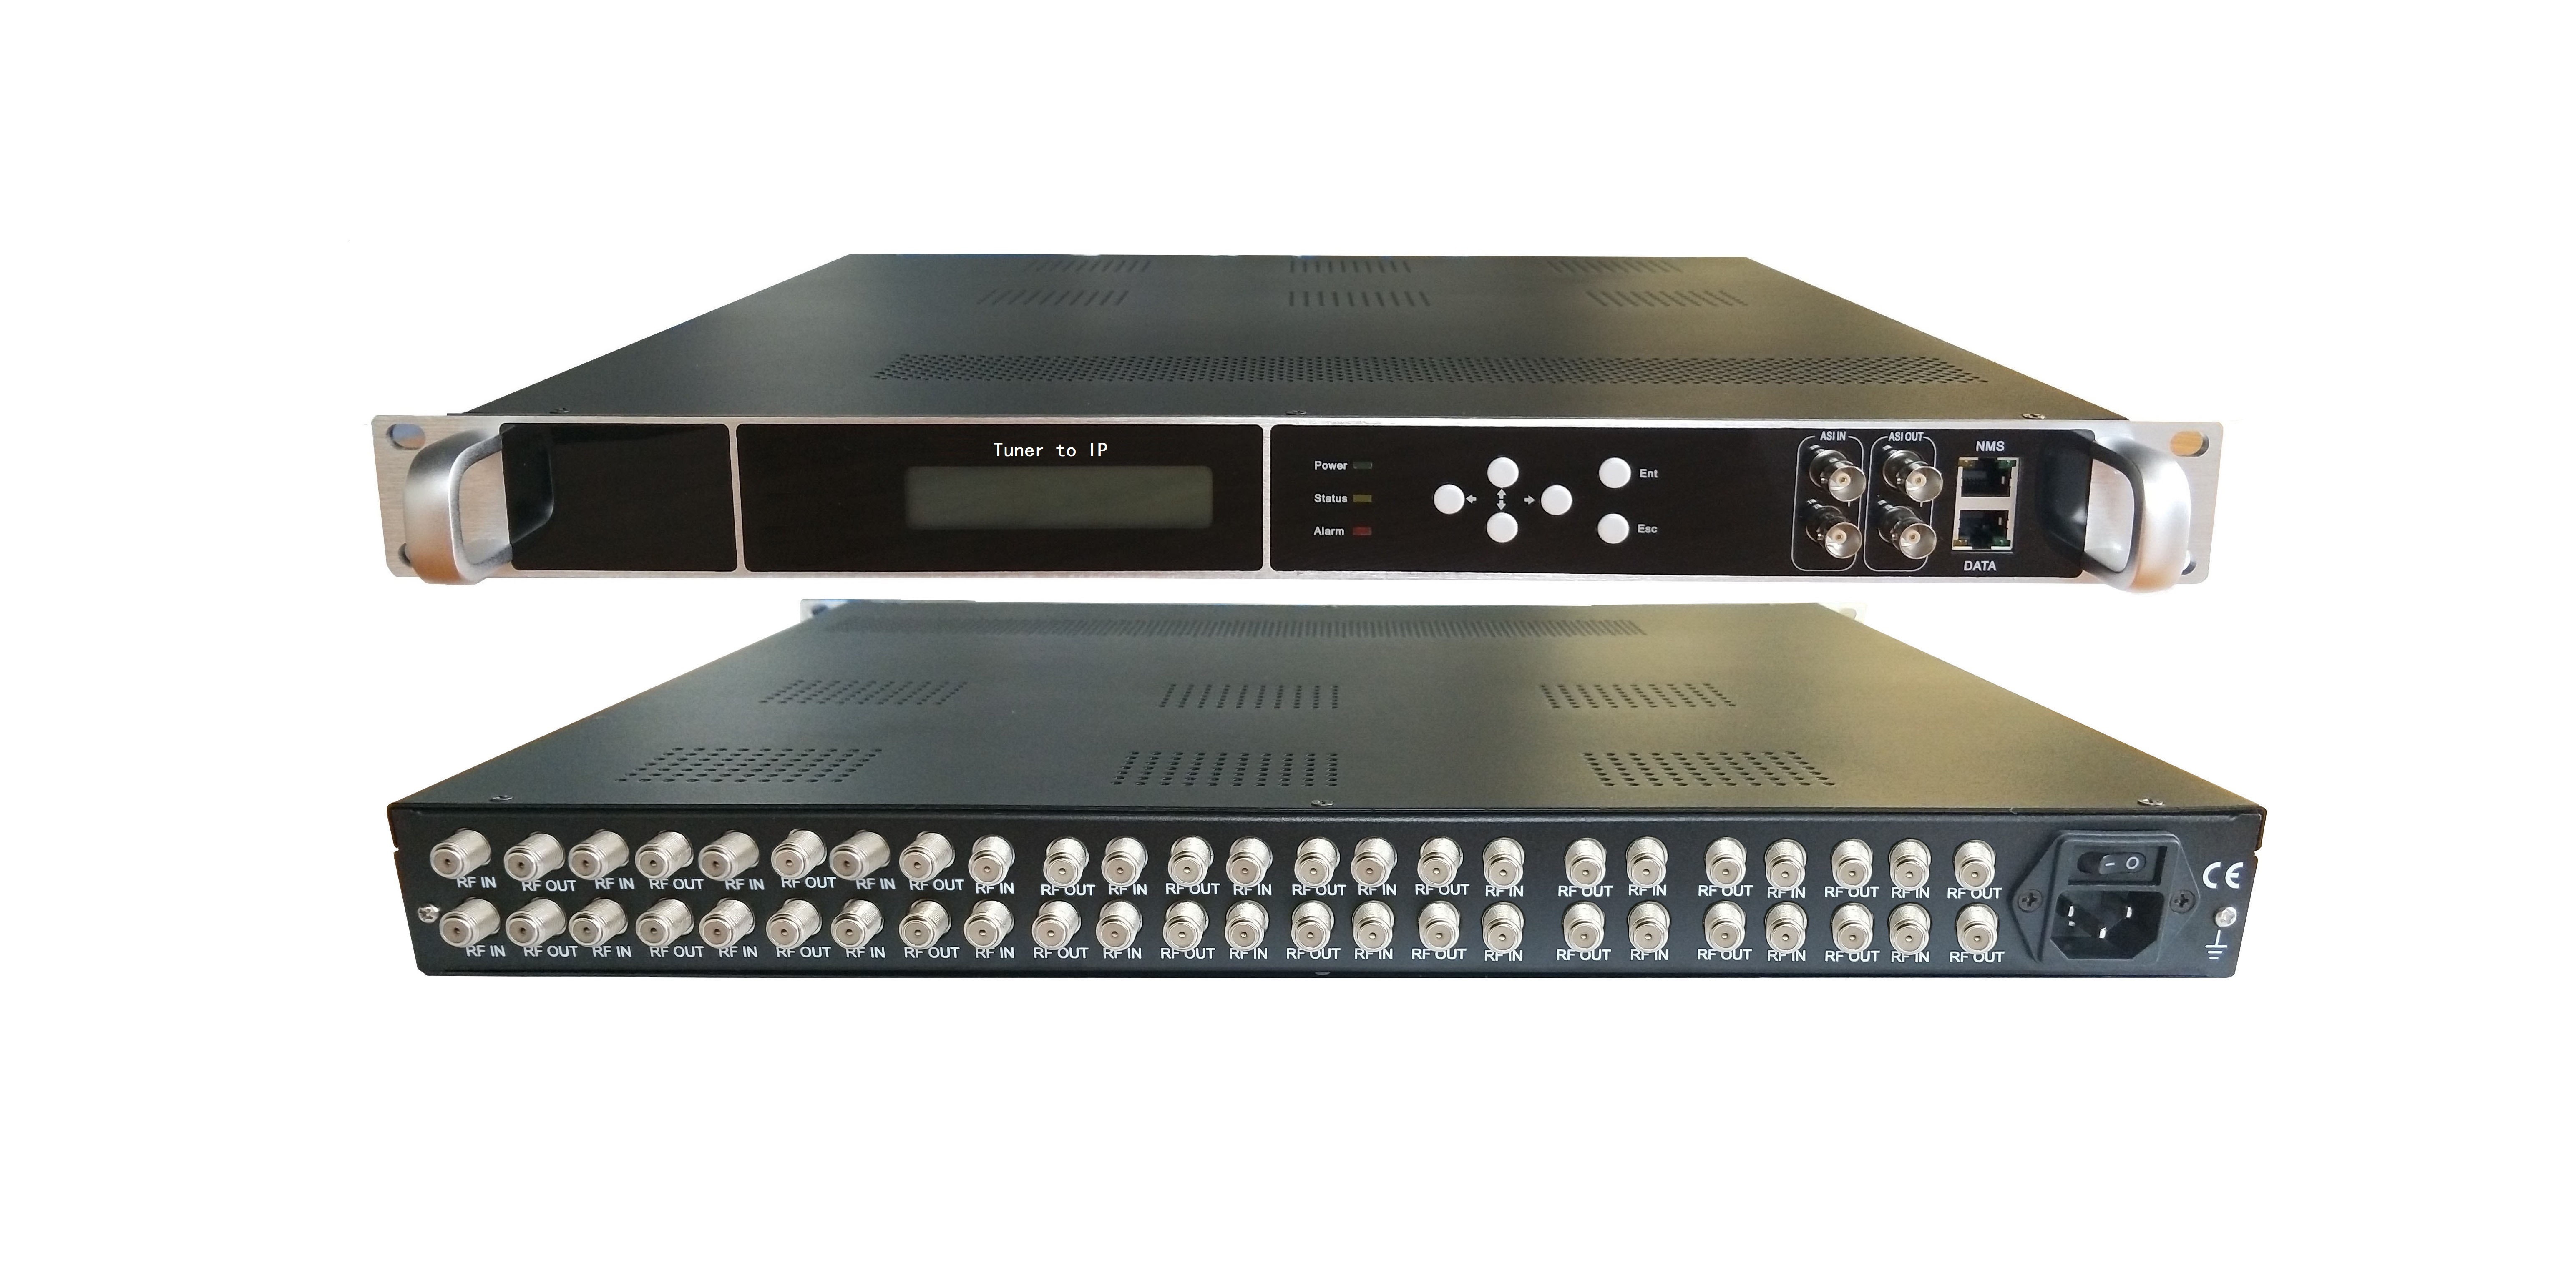
OT-IRD1601I series are devices to convert tuner input into IP output . It support 4 /8 /12 /16 /20 /24 ways Tuner input,1 Gigabit IP input/output; 4 MPTS output
2 Features
l support 4 /8 /12 /16 /20 /24 ways Tuner input
l Tuner(DVB-C、DVB-T、ATSC、DTMBT、ISDBT)input, or combined standard Tuner input (such as:4 DVB-T and 4 ATSC to make 8 inputs)
l 1 Gigabit IP input/output (SPTS/MPTS ),UDP、RTP protocol
l ATSC、ISDBT、DTMBT、DVB-C/-T output optional
l 2 ASI input
l 2 ASI output
l Web management and online upgrading
3 Specifications
| input | Tuner(4/8/12/16/20/24 tuner )
PS:Tuner type(DVB-S2/DVB-C/DVB-T/ATSC/ISDBT/DMBT) |
|
| 2ch ASIinput | ||
| 1 Gigabit IP input port | ||
| output | 2separate ASIoutput | |
| IP output(SPTS/MPTS ),UDP、RTP protocol | ||
| System | Network management (Web) supports online upgrading | |
| Chinese / English operation interface | ||
| General | Dimension(L×W×H) | 482mm×410mm×44mm |
| Weight | 8kg | |
| Tempreture | 0~45℃(working);-20~80℃(stock) | |
| Power in | AC100~240V,50/60Hz | |
| Power consumption | <90W | |
4 Outlook
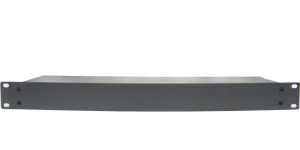
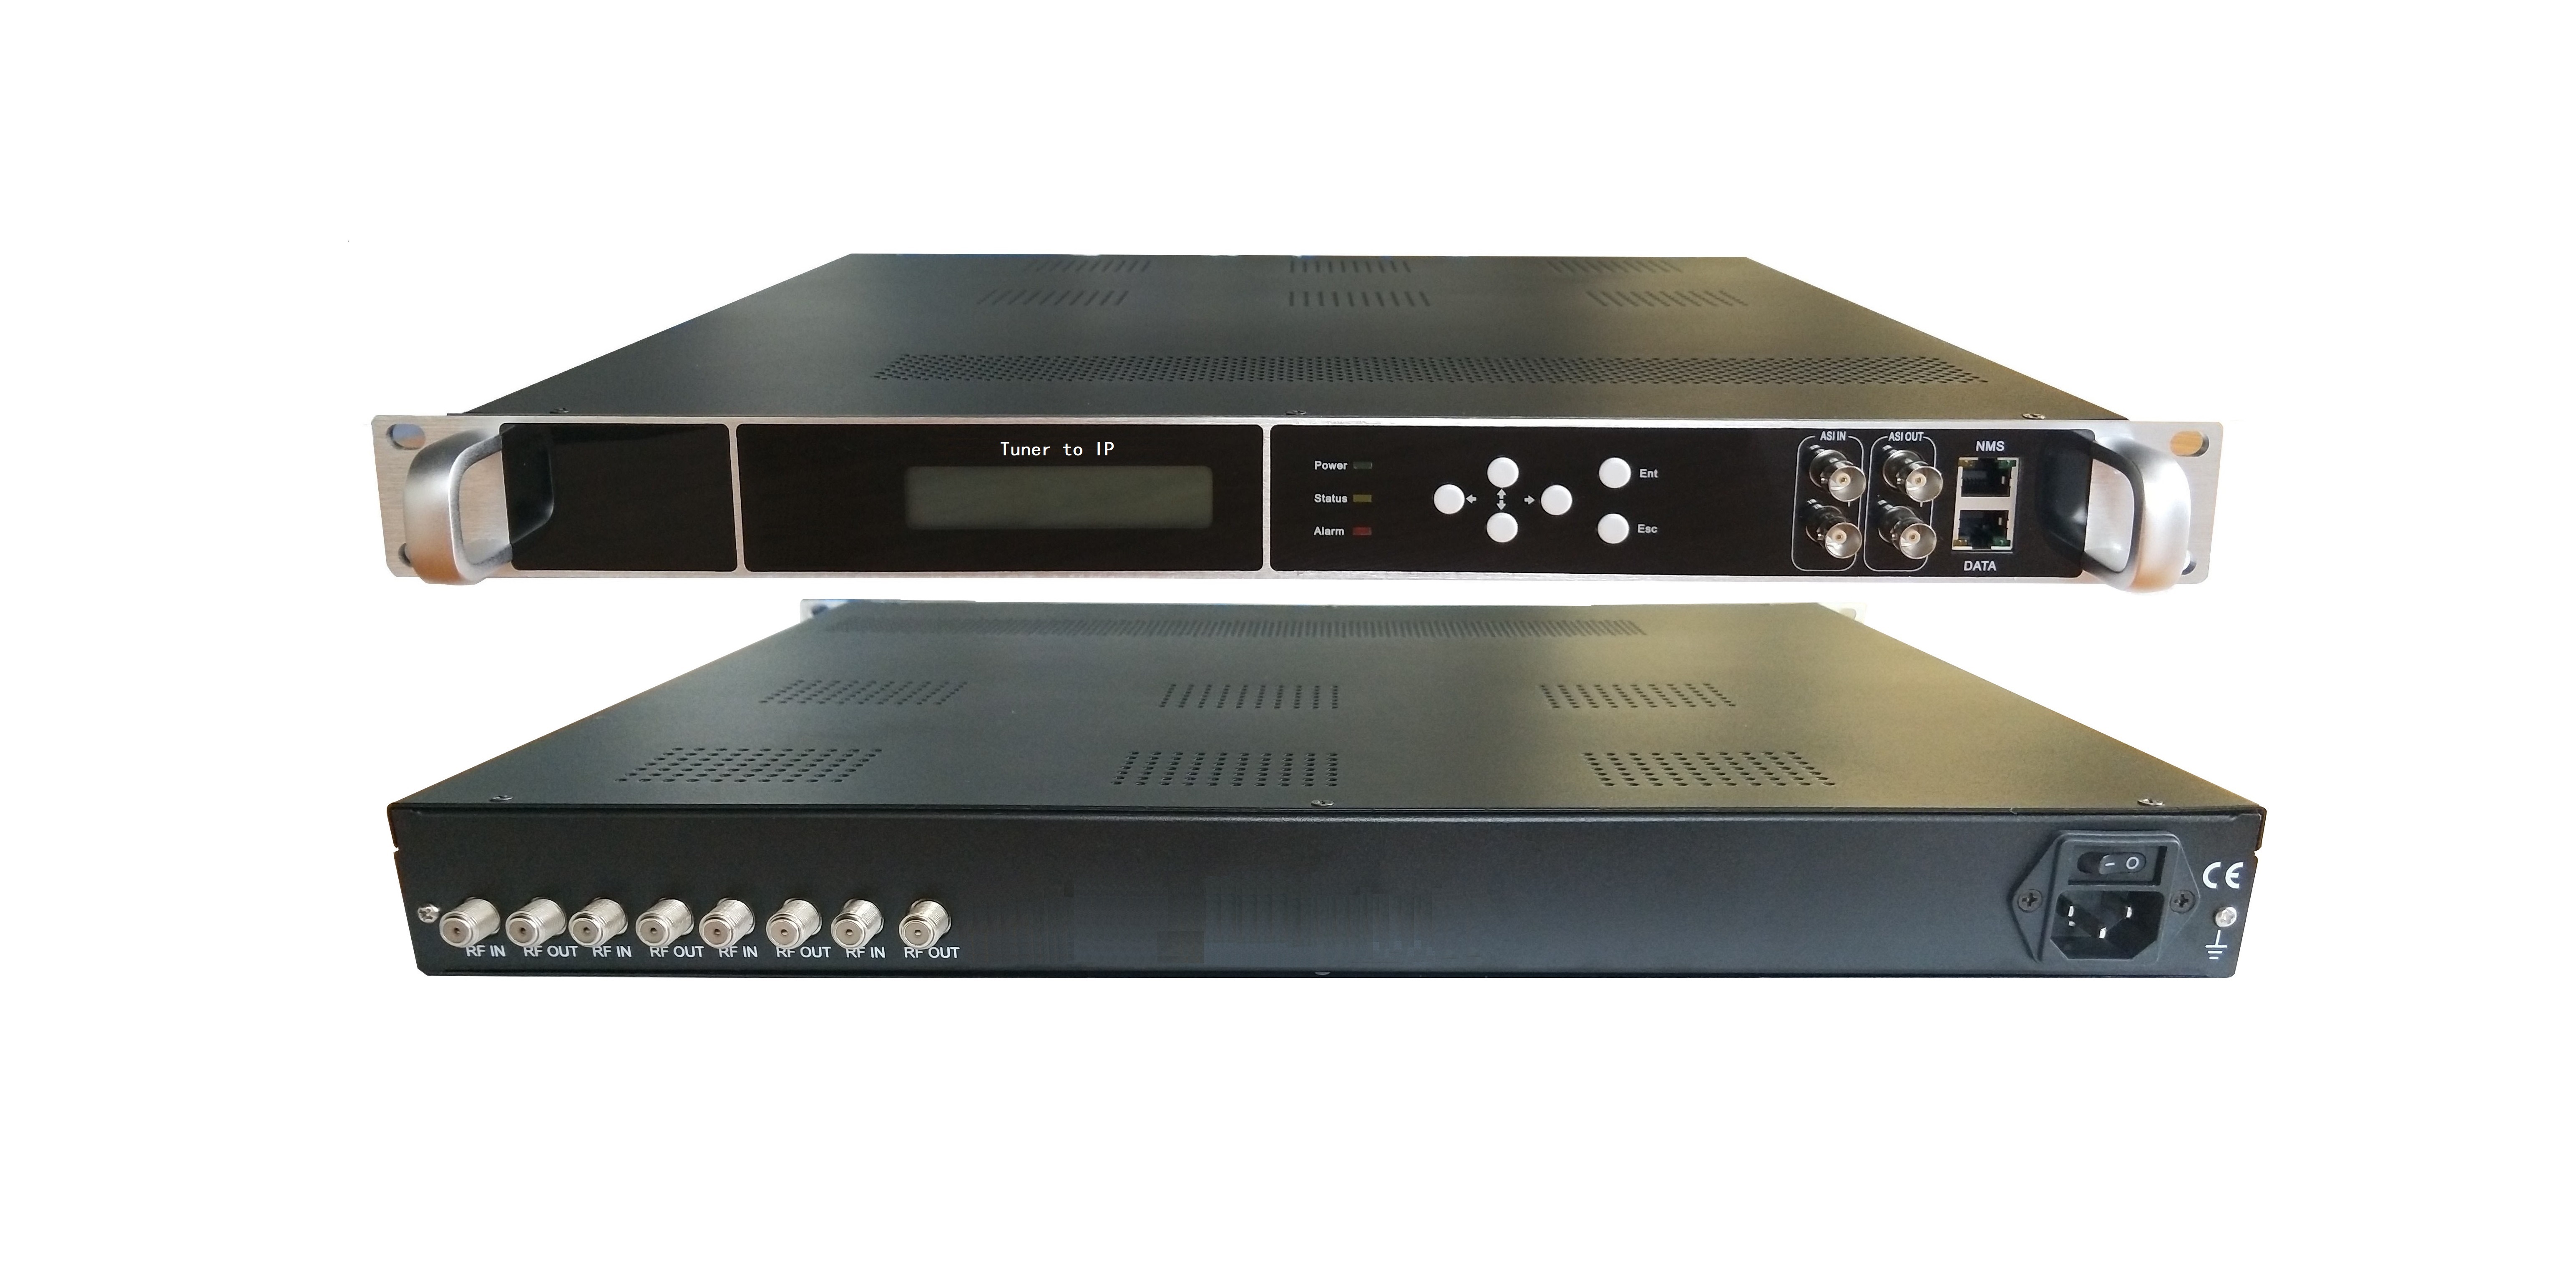
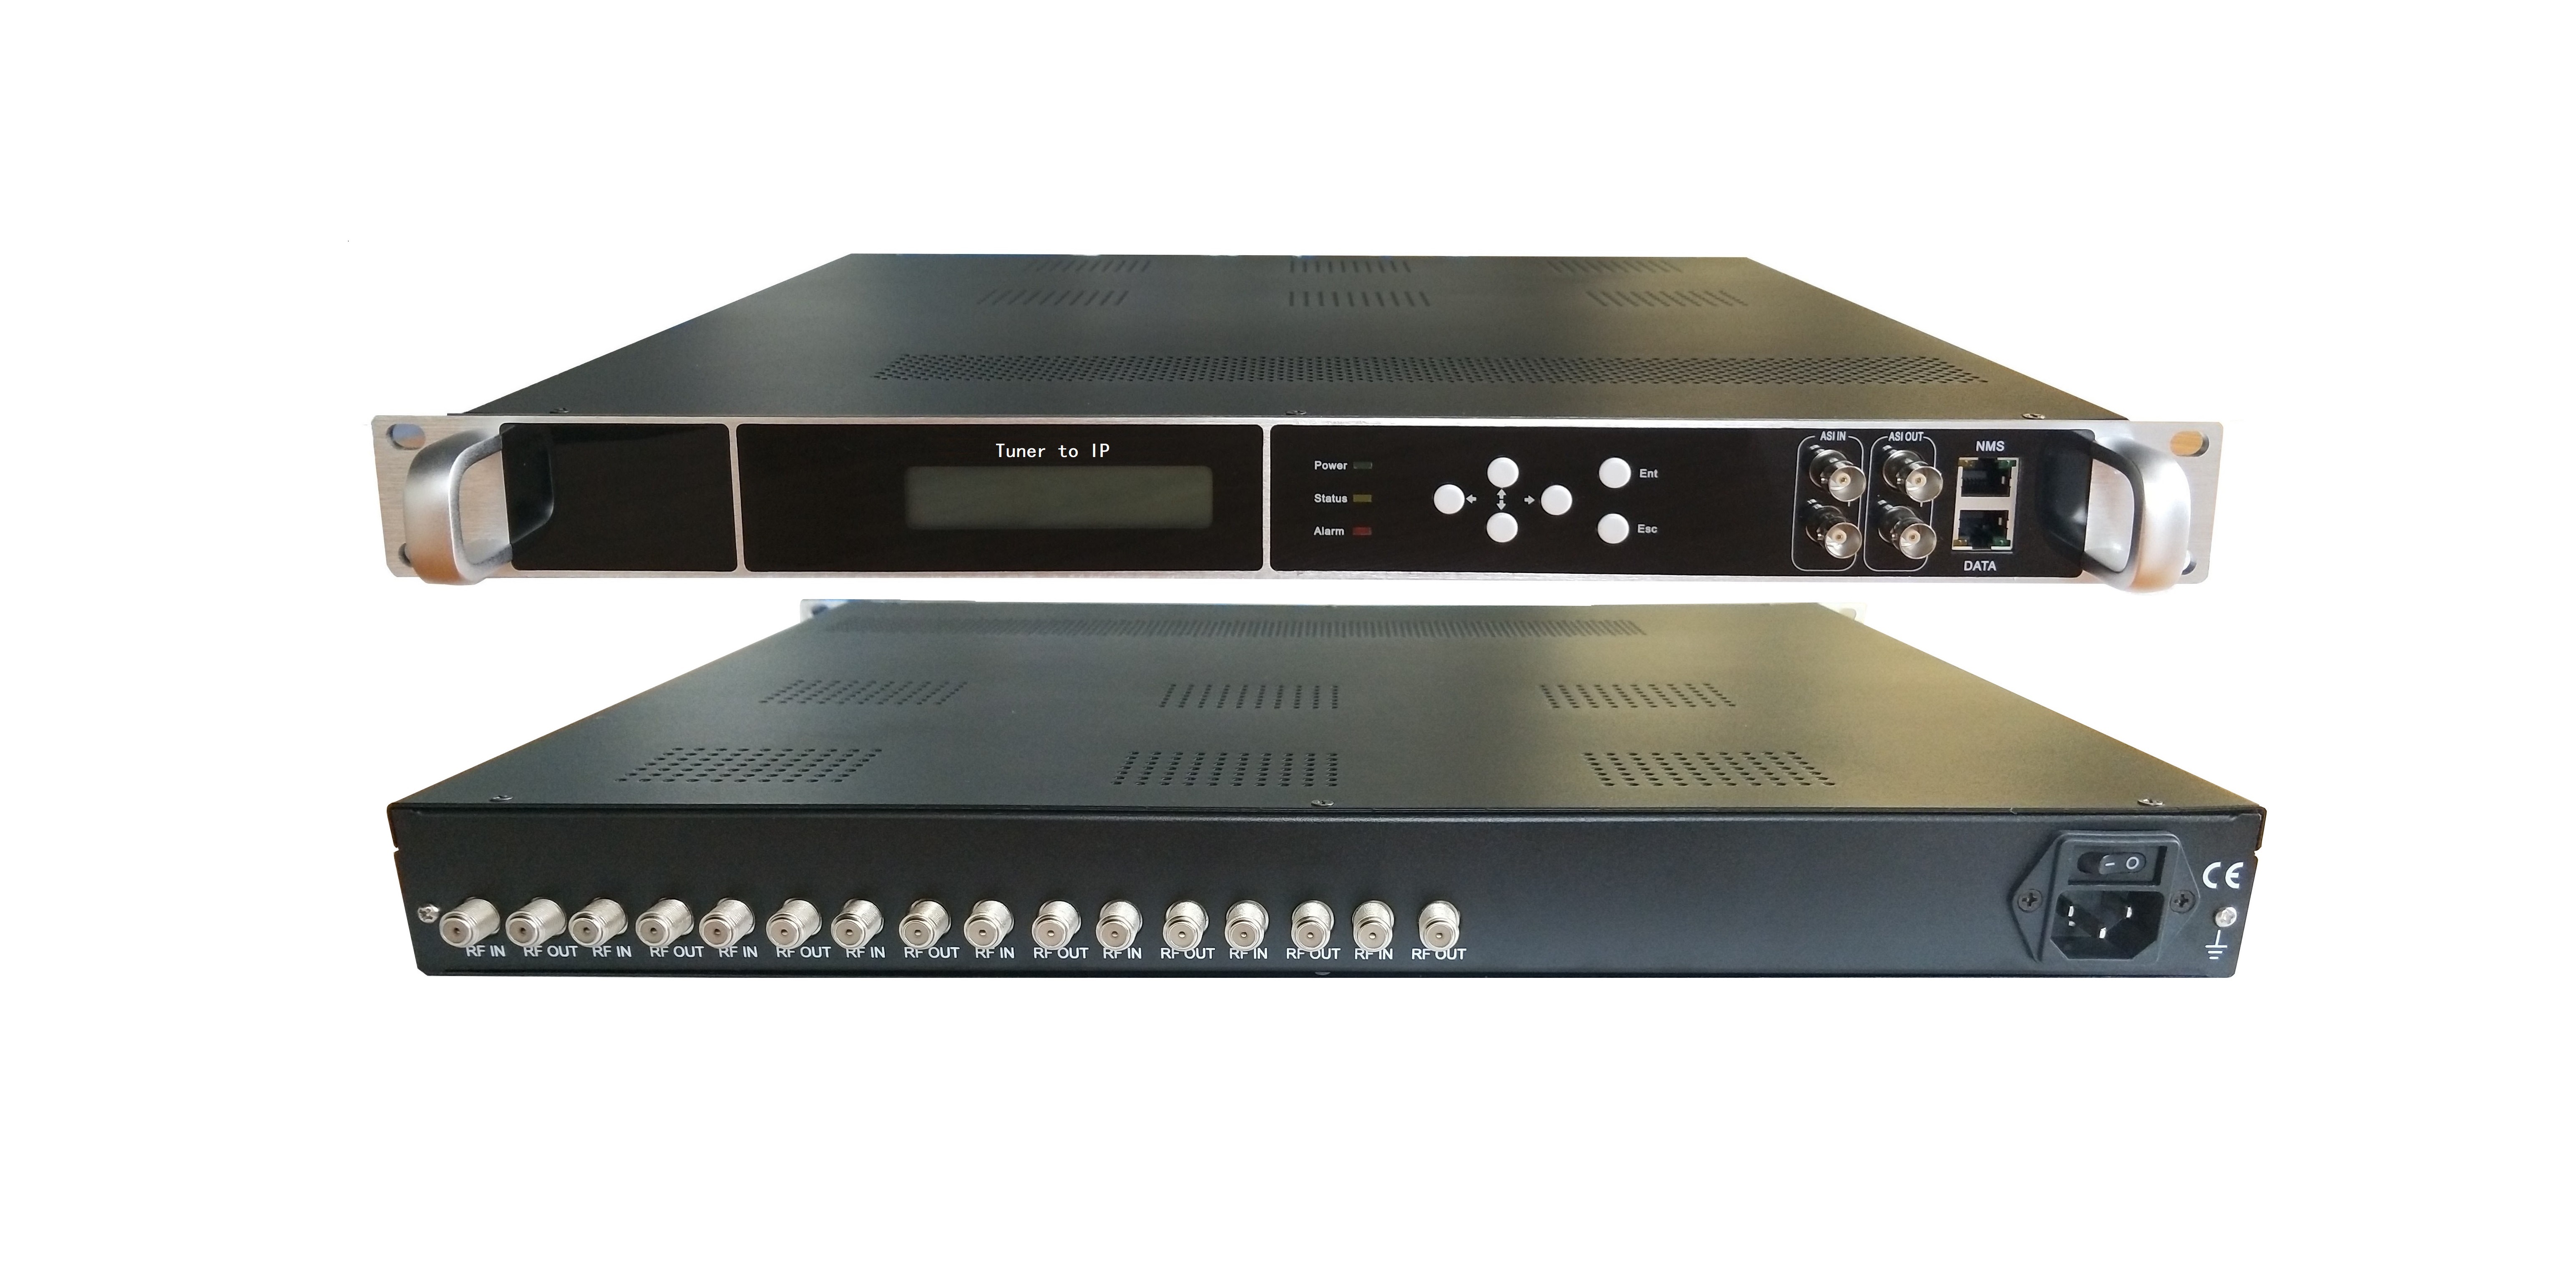
Front pannel

| 1. | LCD display |
| 2. | Indicator light |
| 3. | Button |
| 4. | ASI In |
| 5. | ASI OUT |
| 6. | NMS、DATA input/output |
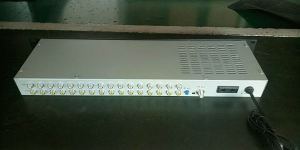
Rear Pannel

| 1. | Tuner input |
| 2. | Power switch |
| 3. | Power input |
| 4. | Grounding |
5 Installation
5.1 Installation process:

5.2 Grounding
The headend encoder modulator and chassisfor headend equioments both have to make grounding well, to protect the equipments from Lightning strikes or electricity instability.
5.3 How to connect the equipments
Web port: connect the fist transmodulator from port “DATA 1/2” to the next piece transmodulator port “DATA” input port.
5.4 Web setting connection
Connect the encoder modulator from port “DATA 1/2” to computor by network cable.
6 Web Management
6.1 Description
Web Management is for the control, managing and settings of the digital headend equipment. The Browser to running the software we suggest is for IE8 browser or higher version or Firefox browser .
6.2 Log on the equipment
Open the browser, input IP: 192.168.0.136

Then input the user name and password:
User name:admin.
Password:admin
n Caution:
1.If fail to connect the computer and headend equipment, please check if the computer and headend equipment are in same IP range.
For example: The computer IP is 192.168.99.252,then we may need to set the headend equipment IP to be 192.168.99.xxx (from equiment fromt pannel LCD screen), or to set the computer IP to be same IP range as the equipment. (xxx can be any of 1-254 except“252” ).
2. From front pannel LCD SCREEN you can check the IP address of the headend equipment. The original IP : 192.168.0.136.
6.3 Basic instructions
After log on, you will get the following interface,

Tune to English version
Status: shows the basic information like the version of thesystem.
Input/ output satus:shows the signal input and output status.
Software version: the version of the running software
Hardware version: the version of the running hardware
Web version: the running web page version
The System: the running system version
Time: the current time
6.3.2 Settings
There are Tuner Band, Program Mux, Modulation,and IP stream data under the Settins.
6.3.2.1 Tuner Band setting
This equipment supports 4~24 Tuner inputs,and multiplexing.

Tuner module: each Tuner module (mainborad)support 4 Tuner inputs , Max 6 module with 24 channle tuner inputs.
A.User can set the datas by clicking “Edit” to change the data.
When finished setting , save the data.
B. The “√”and “ⅹ”shows this channel is o*en or closed. Double click the button to switch their status.
6.3.2.2 Progran Main Max setting
(1)Parse program: First input each Tuner data, locked, and choose “Tuner 1” or other channels, click “Parse program” or “Parse all”to parse allthe program for all channels .

(2)RF Output:users can choose RF output here by tick “RF Output”. When make TS stream setting, first choose theoutput channel which you want to edit, then all your setting is based on this channel.
A.Program mux:The users can choose the program on this interface: first choose the frequency on “RF output”,then tick“√”the program you wantamd click “>”to add this program to this frequency.
B.Delete program: first choose the frequency on “RF output”, then tick“√” the program and click “<”to delete the program from this frequency.
(3) ASI Mux
Click“ASI 1”, then click“Parse program”, then choose theprogram .
(4) Edit the program data
Click “Output”to show all the program data. :

After edit the data, click “Apply”to savethe data.
(5) IP Stream

6.3.2.4 Network setting
To set the IP of this device:

When finished setting, click” Apply to save it.
6.3.3 Advance setting
To set the device’s modulation switch, upgrade , save etc.
6.3.3.1 Modulator Switch
Users can choose the modulation standard and restart the device to live the modulation standard.
Users can delete the modulation standard , and restart the devoice to live the setting.

6.3.3.2 Upgrade
To upgrade the software of the device:

We’d better to contact the supplier to uograde the device.
6.3.3.3 Save
Users can save, load and reboot the device.


Each setting need to click “Apply” or “Save” to save the settings.
6.3.3.4 Time
To setthe time .

6.3.3.5 Log
To shoe the running information of this device.


6.3.6 Language exchange
Click “English” to change the web interface and LCD display into English version and save.
7 Cautions
Please follow the following tips to set running the equipmet to make sure safety and performance.
7.1 Precaution
u Place the equipmentin an suitable place with a tempreture range of 0-45℃
u Make sure that heat sink on the rear panel is well ventilated, and all jacks smooth opening;
u Check the power voltage, and all power connections;
u Chech the RF output leverl to make sure it is in the working range;
u Recheck all connections;
u Donot switch OFF/ON the euqipment frequently (each switch on and off shoud be Min. 10 secends later)
7.2 When do you need to upplug the power
n The power cord or socket is damaged.
n f any liquid get into the equipment.
n Short circuit carsed by anything getting into the chassis.
n Rainfall or soaking to the equipment.
n Any demage to the equipment.
n Long idleness of the equipment.
n Equipment does not work after preset recovery.
n Equipment reparement